Pages

Friday 30 December 2011


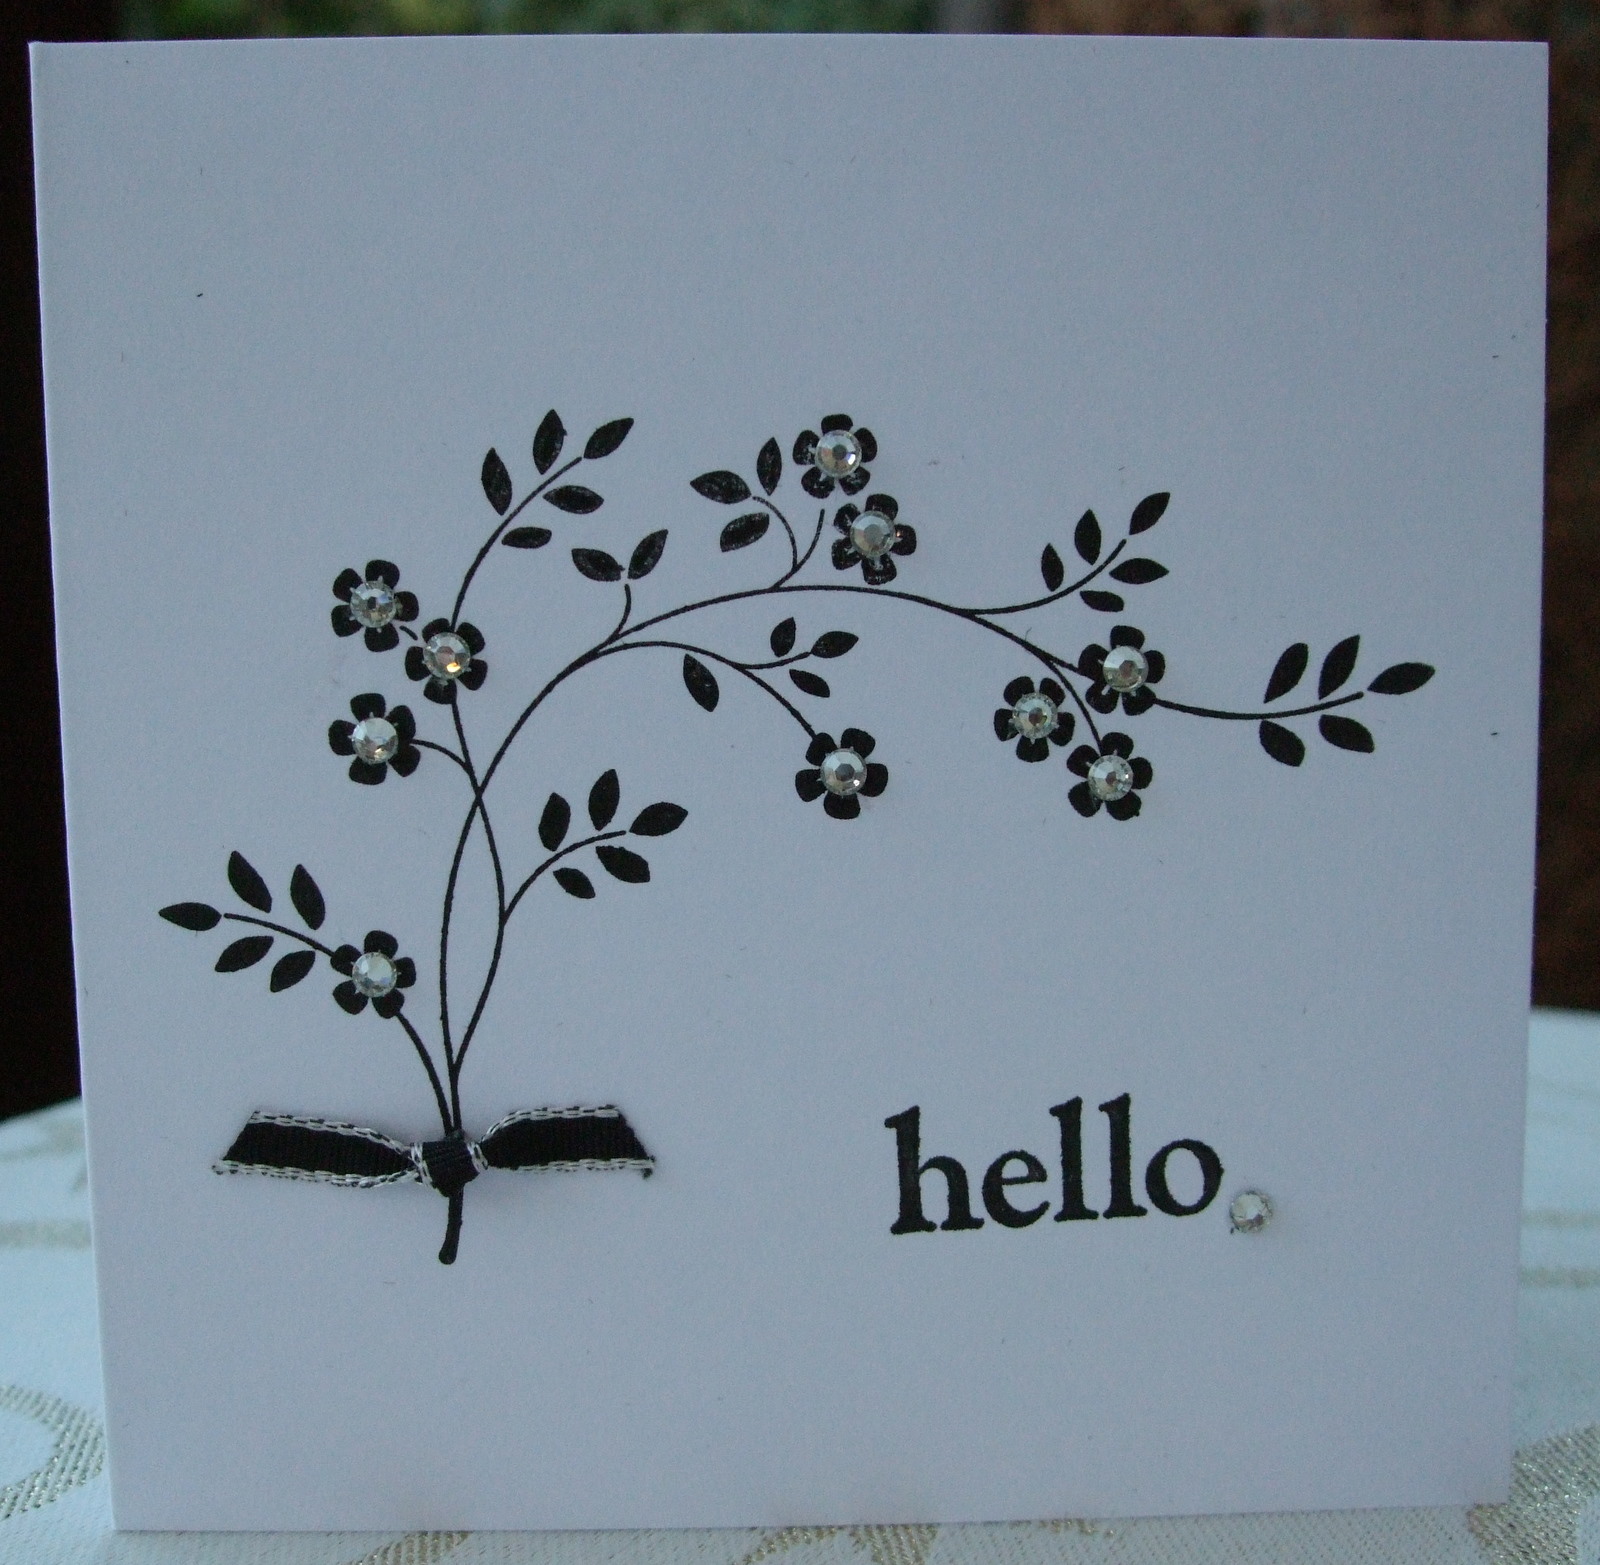
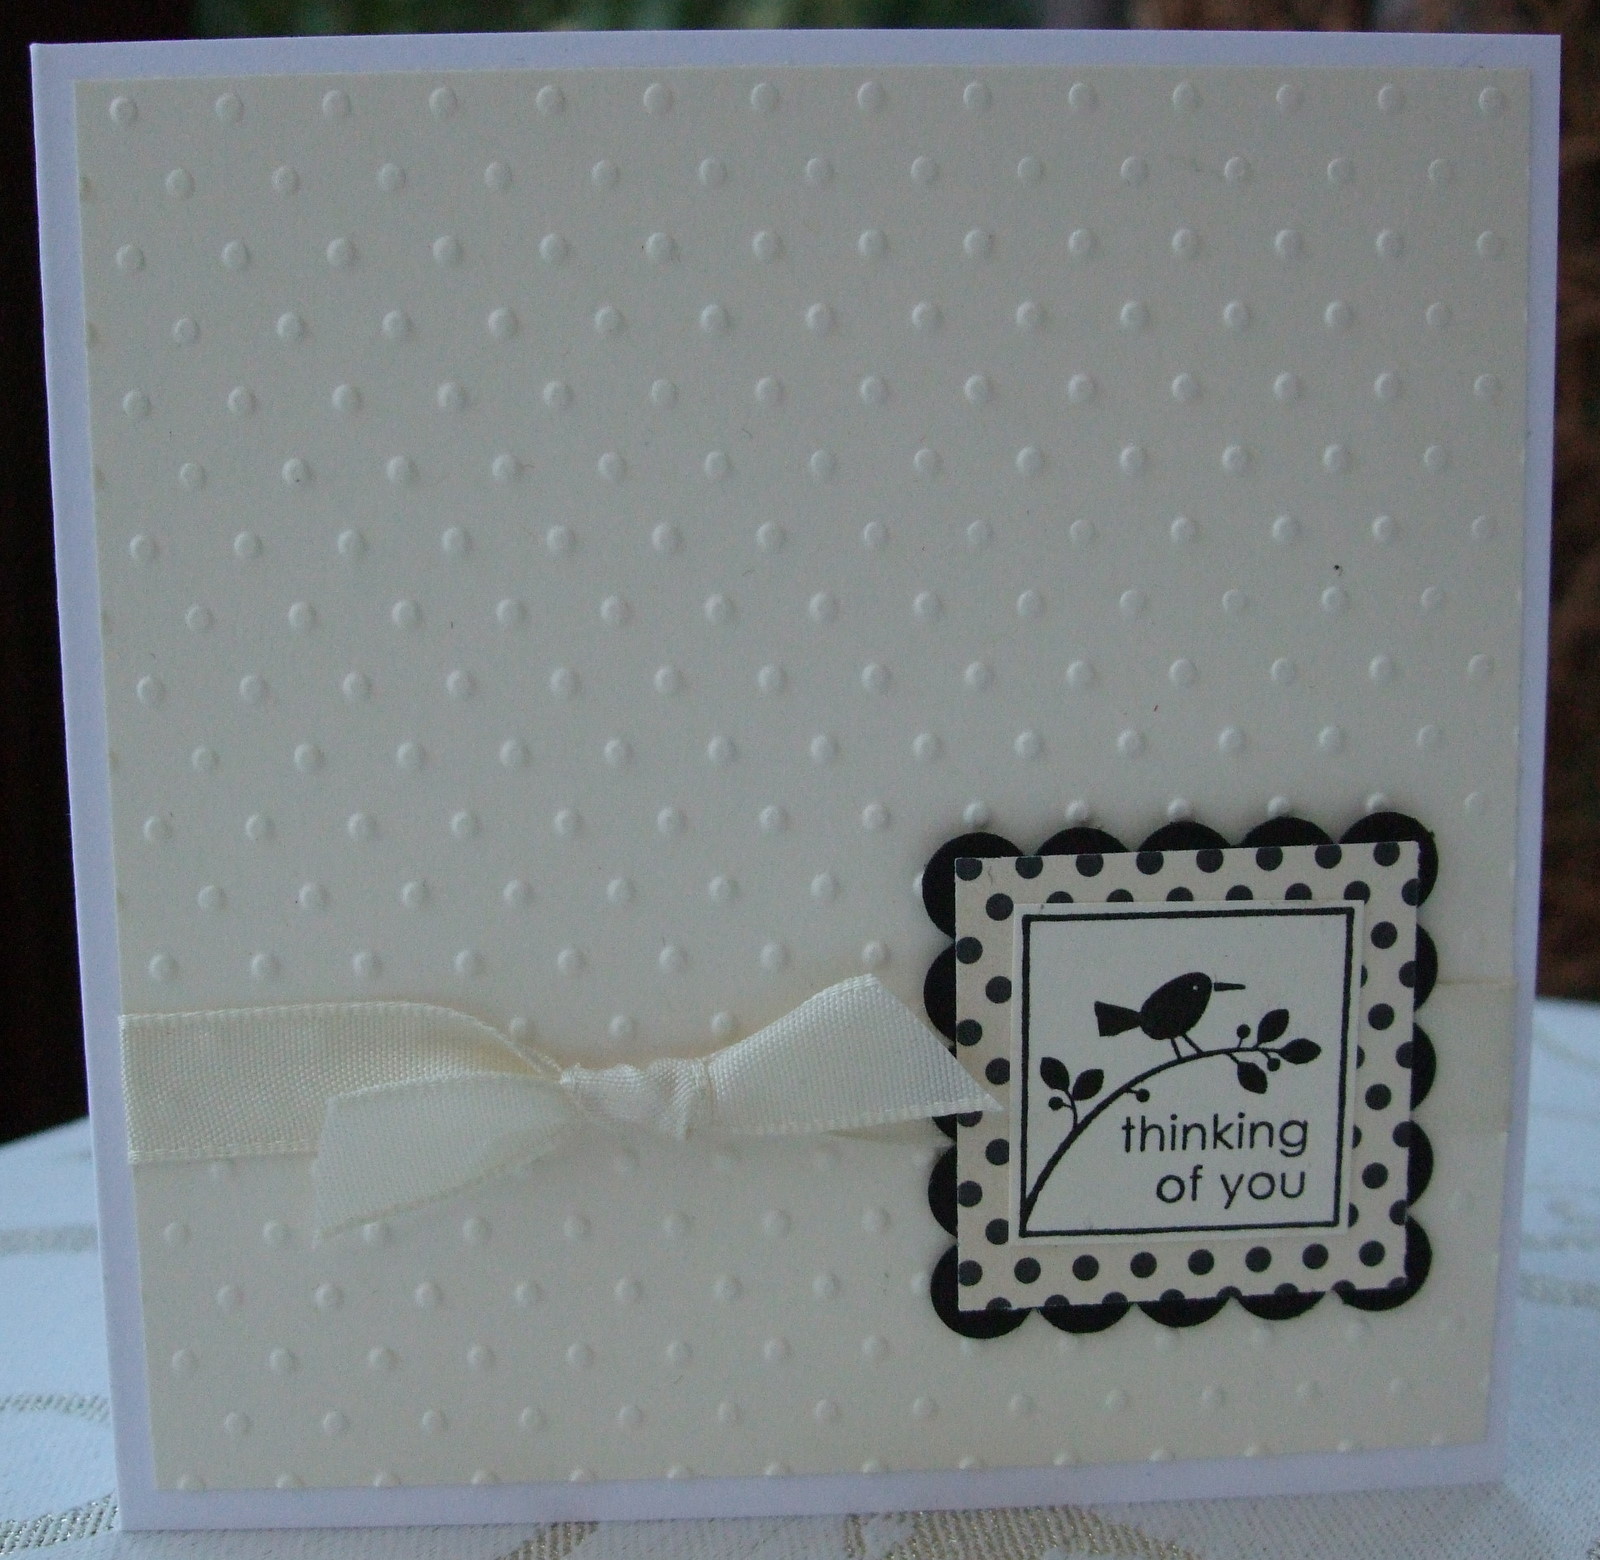
As promised these are the other 5 cards I made to go in the gift box which I showed you yesterday - the 6th one was posted the other day for the LIM challenge. I won't bore you with the details as I have used a real mish mash of stamps, ribbons and DSP - some current and some retired - but you get the idea!

Now for some SU 'New Year' news!
Stampin'Up! are bringing out the first new mini catalogue (yes there are going to be 2 this year!) which will run alongside the Sale-a-Bration promotion. The mini runs from 4th Jan - 30th April and the SAB from 24th Jan - 31st March. I will be posting more details about this, and an online link to the catalogues, at a later date, but in the meantime if you would like to get hold of a paper copy then please contact me at margaretk21@hotmail.com and I will be pleased to send them to you for the cost of postage.

Thursday 29 December 2011

Gift Box & Card


If you visited my blog yesterday you will have seen a card which is part of a set I have made for a gift, so today I thought I would show you the box I have made to put the cards in and the belated birthday card to go with it! Both are decorated with some DSP from Timeless Portrait, Very Vanilla and Basic Black ribbon. The base of the box is made with plain white cardstock and the lid is Basic Black. I made a heated ribbon flower from Basic Black Satin with a Rhinestone Brad in the centre and the leaves were a piece of folded card run through the crimper then cut into a leaf shape, the Very Vanilla taffeta ribbon which I used as a tie for the box is now retired. For the birthday card I used the same DSP but this time with a length of Very Vanilla Satin ribbon running across the centre and the flower was made from the Fancy Flower, 5-Petal Flower, Boho Blossoms and Itty Bitty punches with some more crimped leaves. The sentiment is from Happiest Birthday Wishes hostess set. I will post photos of the cards that are to go in the box another day.

Wednesday 28 December 2011

Just One Word (for the 2nd time!)

This morning, instead of doing the sorting and tidying which I intended, I have been making a set of cards as a gift for a friend's birthday and I realised one of them fitted the Less is More challenge - Just One Word. It is using the same retired sentiment that I used for my first entry (see last post) but this time with a stamp from Hopeful Thoughts.
My friend has a similar taste as me, in that she loves black, white and neutral colours, so all the cards in the set are made in these shades. This particular one is stamped in Basic Black onto a plain white card blank with just the addition of a few Basic Rhinestones in the centre of the flowers and a tiny knot of Basic Black narrow taffeta ribbon. A very quick & easy card but, nevertheless, quite effective I think.

Just One Word

Well Christmas is over for another year and I, for one, am glad to be doing some crafting which doesn't involve reds, greens and glitter! 
The challenge this week at Less is More is 'Just One Word' and I have chosen to use part of a retired stamp to say hello. I finally got my stamp Young Vermillion' mounted (I've had him for a few weeks now and not got round to using him!) and stamped him in Early Espresso and then used a blender pen with Crumb Cake, Early Espresso and So Saffron to colour in. I added the sentiment and some Linen Thread and rounded two opposite corners before mounting onto Crumb Cake cardstock and then onto a white card blank - job done!


The Young Vermillion stamp is an A la Carte single stamp, available from the Stampin'Up! 2011-12 catalogue at only £6.95. On the right I have shown you it stamped in Crumb Cake so you can see there is a lot of scope to turn him into a number of different birds, unfortunately I am not too well up on bird species other than the common varieties but he is still beautiful simply stamped in just one colour.

Tuesday 27 December 2011


Welcome back and I hope you all had a wonderful Christmas. 
Today's card is one which I made very quickly yesterday whilst waiting for visitors. It is for my daughter-in-law's January birthday and, as the gift is money, I wanted to give it to my son rather than posting but as usual I left it until the last minute!
I used the flower spray from Hopeful Thoughts and coloured it with Old Olive and Cherry Cobbler markers, stamped onto Whisper White and added the sentiment from the Hostess set, Happiest Birthday Wishes. The Whisper White was matted onto a piece of Cherry Cobbler cardstock with a piece of Cherry Cobbler Seam Binding tied round and knotted and then placed onto a plain white card blank. Some of the tiny Basic Pearls were added to the centre of the flowers to finish the card. 
I made the matching money holder by simply cutting an envelope with the Scallop Envelope die, stamping the flap with the same flower spray and using Cherry Cobbler Seam Binding to keep it closed.
The card also shows how you can 'rescue' something if you make a mistake! After stamping the spray I added the sentiment but it was a bit wonky so, because I was making the card in a hurry, I decided to cut the Whisper White at an angle at the top and bottom rather than straight and I have to say I was really quite pleased with a bit of variation from the norm. The moral of the story is - don't panic if you make a mistake - think of a way to utilise it :0)
Until next time, enjoy the rest of the festivities and I'll be back soon x

Saturday 24 December 2011

Merry Christmas


Well Christmas Eve is here again - where has the year gone? One last post before the big day and my entry for the Simply Stampin' Challenge which this week, believe it or not, is Christmas! This is the card that I made for the lovely ladies who come to my classes and is using a stamp from Pines & Poinsettias, coloured with Early Espresso, Old Olive and Cherry Cobbler, punched with a circle punch and mounted onto a larger circle of Cherry Cobbler. The card base is Cherry Cobbler with a rectangle of Whisper White, first stamped with a sentiment from 'Heard from the Heart' and then run through the Perfect Polka Dots Embossing folder. A knot of Cherry Cobbler Seam Binding was fixed to the Whisper White before matting onto the card blank and the circular embellishment added.
All that remains now is to wish you all a very Merry Christmas and a Happy New Year x

Tuesday 20 December 2011


To you all,


Wishing you a


and a very Happy New Year

Time is fast running out, I still have loads to do and my house is like a tip!! I have a funny feeling this may well be my last post before Christmas so I just wanted to thank every one of you who follows, visits or leaves comments on my blog - your support has been amazing and I am truly grateful. I hope you all get whatever you wish for both at Christmas and in 2012.
Take care, keep warm and a Very Merry Christmas x x

Sunday 18 December 2011

Brooches


Just a very quick post today to show you some brooches I was asked to make for someone as gifts to give to her daughter's friends. They are made from felt which was cut using the Fun Flowers die and fixed together with glue and finished with an SU brad in the centre. I used a brooch pin on the back which was mounted onto a circle of matching coloured cardstock covered with Crystal Effects. I packaged them in a cellophane card bag with a topper made with the Top Note die and stamped with a sentiment and a stamp from Pines & Poinsettias. These are very simple and cheap to make but, nevertheless, make a nice little gift and you can have them to match any outfit!! 
I'm sure, like me, you will have noticed that 'Blogland' seems to be very quiet at the moment but I expect that is because all the crafters are now busy trying to get stuff done in time for the big day and crafting has had to be put on the backburner for now. Anyway I hope all your Christmas plans are going well and I'll be back soon.

Friday 16 December 2011

More Matching Sets!


Some more matching sets I have made for some friends at work. We only buy each other small gifts but I think even the smallest gift can be made to look lovely by it's packaging. Here I have used a selection of the Mocha Morning Speciality DSP along with Basic Black, Basic Gray, Soft Suede, Very Vanilla and Crumb Cake cardstock and ribbon. The hexagonal box is made with the Mini Milk Carton die and I used the square punches for the decorative side panels - it holds a pot of 'Body Souffle' (sounds good enough to eat doesn't it?). The small box is yet more of the single chocolate boxes and the side DSP panels are punched with the smaller of the square punches and the top with the Scallop Square punch. I made a very simple matching card to complete the set, with the sentiment from Petite Pairs either silver or gold embossed. All finished off with either Basic Pearls or Basic Rhinestones.
I've had a very busy day crafting trying to finish all the things I needed to do for the last day of term tomorrow. Every year I say I will start these things in plenty of time - why don't I ever do it???
I'm really hoping we don't wake up to the snow that's forecast for tomorrow - so fingers crossed :0)

Thursday 15 December 2011


Some more cards and chocolate boxes on the same theme as the last post, again using the Holly Berry Bouquet Speciality DSP but this time the foiled papers and Very Vanilla card bases. The sentiment is from Petite Pairs and punched with the Oval punch, layered onto a Scallop Oval and then onto a Large Oval (or Extra Large as it's called!). The sentiment on the box is punched with the Jewelry Tag punch and the flowers are made with the Boho Blossoms punch.
It is always very difficult to guage the size of things in photos when you have nothing to compare them with but, to give you an idea, the boxes hold a single Ferrero Rocher and are perfect for that small gift to maybe show your appreciation to someone.
Back soon x

Monday 12 December 2011


I must apologise for the lack of posts over the last few days but, despite being busy crafting, it is so dark when I leave for work and get home again I've not been able to get any decent photos. However I managed to get a half decent photo tonight of a card I made to match one of the little chocolate boxes similar to the ones I posted a couple of weeks ago. (This also gives me the opportunity to put right a mistake I made in the measurements for the boxes, here , where I said the top and bottom were made from a piece of card 4.5cm square and scored at 1cm all round when it should have been 5.5cm square. My sincere apologies if you had a go at making the boxes only to find the top & bottom were too small!)
The card and box are made with the Holly Berry Bouquet Speciality DSP and Wild Wasabi cardstock, with a touch of Real Red cardstock and Satin ribbon. The sentiment from Petite Pairs is punched with the Oval punch and layered onto a Scallop Oval and Extra Large Oval.
Only a short post today as it's now past my bedtime!

Friday 9 December 2011

Handcrafted by Vicky


Yesterday I went out for lunch with the lovely Vicky, a fellow member of The Pink Ladies, and she gave me this beautiful gift box and card which she had made. Isn't it stunning? Vicky just happens to be one of the most talented ladies I know and I love and admire all her work so I was really chuffed to receive this gift from her (and in one of my favourite colours - Cherry Cobbler!)
If you've never visited Vicky's blog then I urge you to do so right now, you cannot fail to be inspired by her beautiful creations. The link to her blog is right here.
I'm not too sure when I will be back as I am helping at my grandson's school Christmas Fair for most of the day tomorrow so no time for crafting but, until then, I hope you all have a great weekend x

Tuesday 6 December 2011

Pennants for the 2012 Olympics


The other day I promised I would show you the pennants we have been making at our After-School Craft Club for a community project, set up by Quilts4London. Their aim is to make 14,000 pennants for the 2012 Olympic & Paralympic games and this will enable them to give a pennant to every athlete taking part in the games as a souvenir to take home with them.  Each year I try to get the kids to take part in something which is either for charity or a community project as, despite their own needs, they must be taught to think about others and crafting is an ideal way to do this. They do love to 'take something home' with them at the end of the session but they are always very keen to get involved in other projects as well. These are all finished and ready to be posted off to London, after the kids have 'shown' them in assembly on Friday where they will also be presented with a certificate to show their participation. The two at the bottom have been done by us 'big kids' who run the club!


Monday 5 December 2011

Santa Owl is coming to town!

Here is a card that I have made for my grandson (he's only 3 so he won't be taking a peek on my blog!)
I used a Basic Black card blank for my base and silver embossed some stars from Serene Snowflkes for the night sky and then took a piece of the Well Worn DSP, which resembles brick, to make the walls of the house and the chimney. The roof is made from a piece of Basic Gray cardstock which has been run through the Stripes Embossing folder and then put back in the other way to form a tile effect and inked around the edges. The top of the chimney is Crumb Cake cardstock punched with the Word Window punch. Mr Owl has been made into a Santa and placed on top of the chimney. The sentiment was silver embossed and punched with the Modern Label punch

Sunday 4 December 2011

Cards in a box


You may have seen the thank you cards I made the other day using Mocha Morning DSP, well I needed a present for the Secret Santa which we do each year at work and I thought a set of these little cards would make quite a nice present. With no more ado I set to and made eight more of the cards and then a gift box to put them in (oh I do love making boxes and they are really not as difficult as you might think). This one was made with Chocolate Chip cardstock and simply decorated with a couple of pieces of Mocha Morning DSP, to match the contents, and a flower for the front made with Brushed Gold cardstock, DSP and the Boho Blossoms punch. The front is fastened with magnetic discs and a loop of Chocolate Chip Satin ribbon was added to make it easy to open. I made the sentiment on the computer and punched out with the Jewelry Tag punch.
Come back tomorrow to see a children's card made with the ever faithful Owl punch!

Saturday 3 December 2011

Dreaming of a 'Green' Christmas!

My goodness, second post of the day!!
The Less is More challenge this week is colour and Chrissie and Mandi have chosen Green to fit in with the fextive season which is very soon to be upon us. The thought behind my card was to make it look like a present and I'm not sure whether I've succeeded or not - but here it is anyway.
A square of Old Olive card was embossed with the Stripes Embossing folder (although it doesn't show up on the photo) before matting onto a slightly larger piece of Certainly Celery. I then punched out four squares of Whisper White and glued these onto the Old Olive. Incidentally I inked the edges of all the cardstock with Old Olive before assembling. I stamped the small holly leaves with a stamp from Pines & Poinsettias, coloured with markers, before adding the letters which were cut out with the Timeless Type Junior Alphabet dies. The sentiment is from a retired set, stamped in Old Olive, onto a white card blank and the card was finished off with a large Old Olive Satin ribbon bow.


Related Posts Plugin for WordPress, Blogger...